
You’re back on the job site for the third time because a 1/4-inch discrepancy just bricked a $20,000 cabinetry order. It’s a gut-punch every contractor knows well. Manual tape measurements and hand-drawn sketches are the fastest ways to lose money in this business. If you’re still relying on a pencil and a prayer, you’re leaving your margins to chance. Learning how to reduce kitchen measurement errors is the difference between a profitable hand-off and a nightmare of design revisions.
We agree that manual math is the enemy of profit. This guide promises to help you master on-site workflows and digital tools that eliminate costly ordering errors for good. You’ll learn to trade the laptop and the "going back home" fatigue for instant, professional results. We will walk through how to use LiDAR scanning and mobile tools like ArchKit to produce 2D and 3D layouts directly on-site. No laptop required. From standard 24-inch base depths to the trending 108-inch pantry heights, it’s time to scan, design, and show your way to a more profitable business and get measurements right the first time.
Key Takeaways
- Stop the ripple effect where a minor field discrepancy derails plumbing and electrical rough-ins later in the project.
- Discover how to reduce kitchen measurement errors by establishing a reliable "zero point" and verifying wall squareness using digital tools.
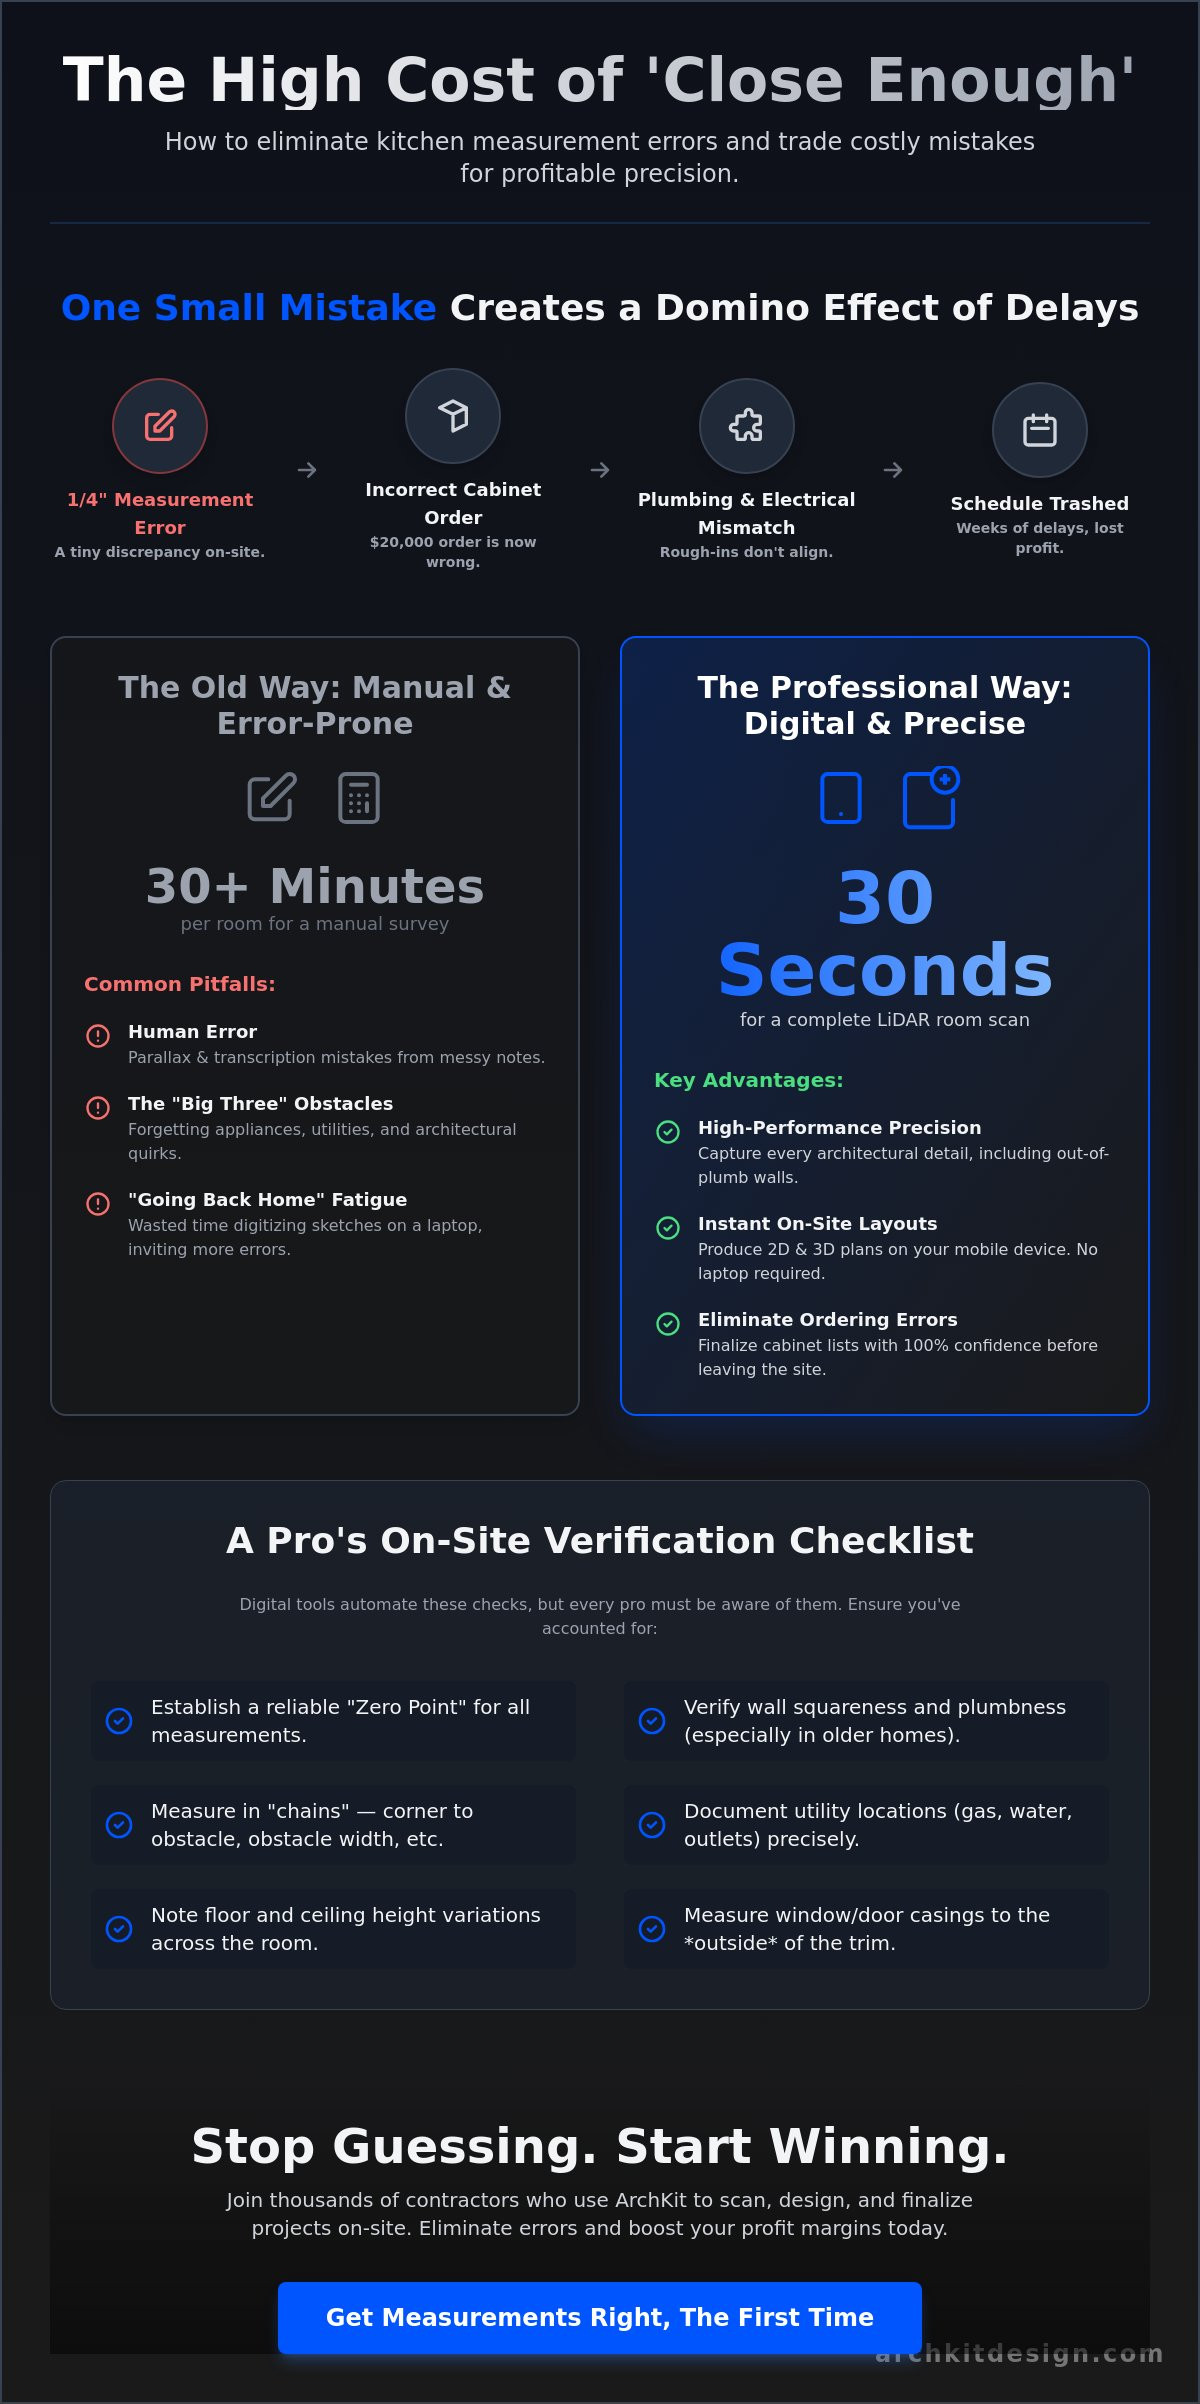
- Replace tedious 30-minute manual tape sessions with 30-second LiDAR scans that capture every architectural detail with high-performance precision.
- Use ArchKit to produce instant on-site 2D and 3D layouts, allowing you to finalize cabinet lists without ever opening a laptop.
- Identify the "Big Three" obstacles—appliances, utilities, and architectural quirks—that cause the most frequent ordering mistakes.
The High Cost of 'Close Enough': Why Kitchen Measurement Accuracy Matters
In the kitchen remodeling trade, "close enough" is a recipe for a margin-killing disaster. A measurement error isn't just a wrong number on a notepad. It's any discrepancy between your field dimensions and the final cabinet order that forces a site modification or a total re-order. When you're learning how to reduce kitchen measurement errors, you have to respect the ripple effect. A small mistake at the start never stays small. It creates massive delays for every sub on the job. If your cabinet run is off by even a fraction, the plumbing and electrical rough-ins won't align. The countertop fabricator can't template. Suddenly, your schedule is trashed because one base cabinet didn't fit the wall.
The financial impact of these mistakes is brutal. Mis-ordering a single corner cabinet can cost you $500 in materials plus weeks of waiting for a replacement. A mid-range kitchen remodel in 2026 averages between $30,000 and $50,000 according to Allure. Your profit margin depends on speed and accuracy. Beyond the money, precision is your best tool for winning client trust. Homeowners notice when a contractor is organized. If you have to explain why the design doesn't fit the reality of their home, your professional authority vanishes. Following standard architectural drawing conventions is a start, but the real work happens in the field.
Common Sources of Human Error on the Job Site
Human error is often a matter of perspective. Parallax error occurs when you read a tape measure from a sharp angle, leading to "ordering nightmares" when a 35 7/8-inch wall becomes 36 inches in your notes. Transcription errors are just as dangerous. Messy field notes lead to confusion when you finally sit down to order. If you have to "go back home" to digitize your sketches, you're inviting mistakes. Finally, you must account for structural anomalies. Walls are rarely plumb; floors are never perfectly level. If you don't measure the "out-of-plumb" reality of a 1950s kitchen, your U.S. standard cabinets won't stand a chance during installation.
The 'Old Way' vs. The Professional Way
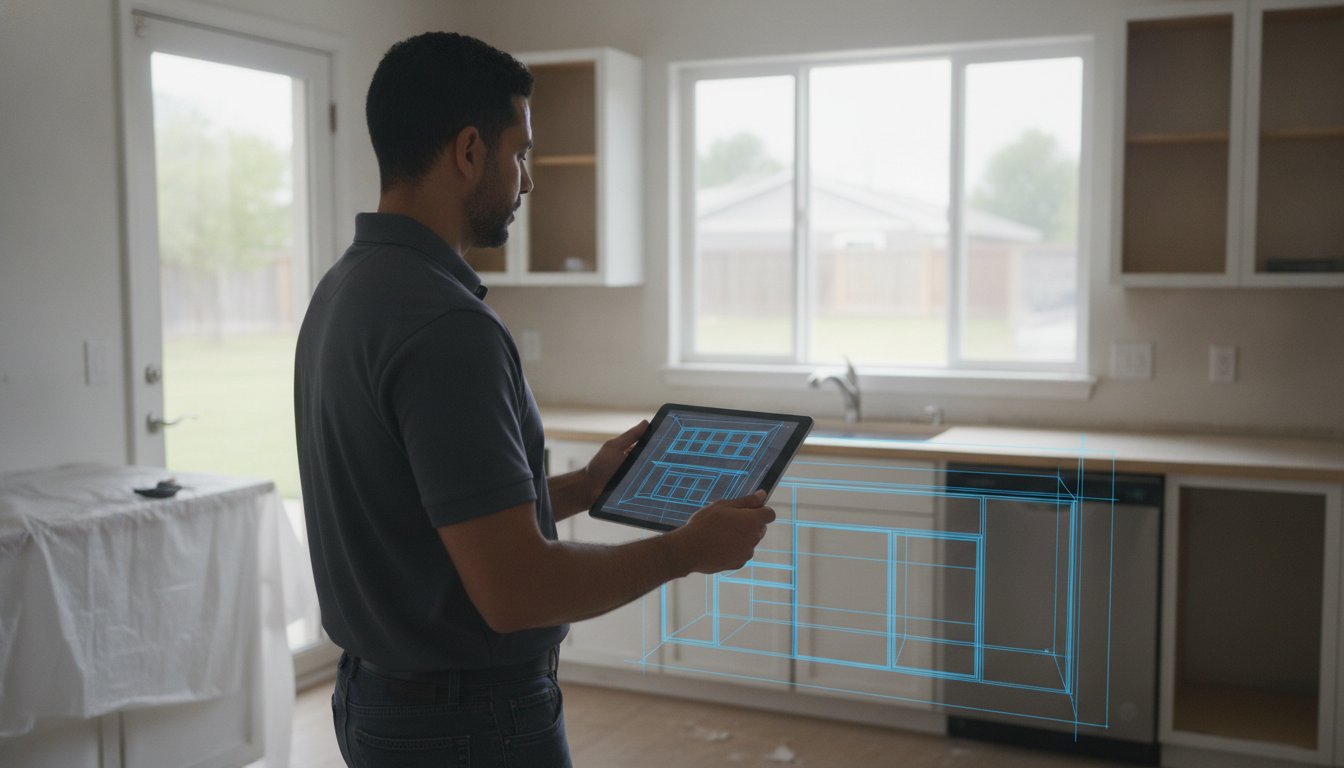
The "measure twice, cut once" mantra isn't enough in the digital age. Measuring twice by hand often just means you're repeating the same human error. The professional way involves moving from hand-sketched floor plans to instant digital layouts. This shift defines the modern workflow. On-site design is the elimination of the office-based drafting bottleneck. Using a contractor-focused kitchen design app like ArchKit allows you to verify dimensions against actual cabinet lists immediately. Scan the room. Place the cabinets. Show the client. You stop guessing and start winning.
Manual Measurement Pitfalls and How to Avoid Them
Relying on a standard tape measure for a complex kitchen layout is a high-stakes gamble. Even the most seasoned pros fall into traps when they focus solely on wall-to-wall distances. To master how to reduce kitchen measurement errors, you must identify "The Big Three" obstacles: appliances, utilities, and architectural details. Most contractors get the wall length right but fail to account for the gas shut-off valve that sticks out three inches or the radiator that prevents a drawer from opening. These physical constraints dictate your cabinet placement. If you don't document them during the first walkthrough, you'll be redesigning on the fly during the install.
One of the most common high-risk strategies for beginners is measuring to the center of the sink. It sounds logical, but it's a trap. Plumbing rough-ins are rarely centered perfectly with the window above. If you order a sink base based on a "center point" that doesn't align with the actual drain or the window casing, you're looking at a costly field modification. Instead, measure the clear opening between the plumbing lines and the nearest corner. You also have to respect the walls themselves. In old construction, drywall thickness varies wildly. Plaster and lath can be an inch thick in one corner and taper off in another. Ignoring these variations means your final cabinet run might not actually fit the physical space.
Technical Checklist for Manual Site Surveys
- Measure in "chains": Don't just take an overall wall dimension. Measure from the corner to the first window casing, then the casing width, then the distance to the next obstacle. Add these up to verify they match the overall length.
- Document window casings: Always measure to the outside edge of the trim. If you only measure the glass opening, your upper cabinets will overlap the molding.
- Check ceiling variances: Measure the floor-to-ceiling height in at least five spots. Kitchen floors often sag toward the center, which can leave a massive gap at your crown molding.
Accounting for the 'Third Dimension'
A 2D sketch is a flat lie. It fails to capture soffit heights, deep crown molding clearance, or the way a door swing might clip a new island. You have to think in 3D from the moment you step on-site. Check the levelness of the floor across the entire footprint. If the floor drops an inch over a ten-foot run, your base cabinets will need heavy shimming, which affects your toe kick and countertop height. Visualizing these constraints is easier when you use a free kitchen design app to map the room in real-time. Documenting HVAC vents and electrical panels as 3D objects ensures you don't accidentally place a pantry over the house's main service door. To stop guessing and start measuring with digital precision, you can get early access to professional mobile tools today.
Modernizing the Workflow: Leveraging LiDAR for Precision
LiDAR isn't just for surveyors or high-end engineering firms anymore. It's the most effective tool for the modern foreman. LiDAR stands for Light Detection and Ranging. It works by firing thousands of laser pulses every second to map the physical environment with sub-inch accuracy. For a contractor, this means creating a "point cloud" that captures every out-of-plumb wall and window casing instantly. This technology is the ultimate answer to how to reduce kitchen measurement errors. It removes the human element of fatigue and the inevitable "fat-finger" transcription mistakes that happen on a dusty job site.
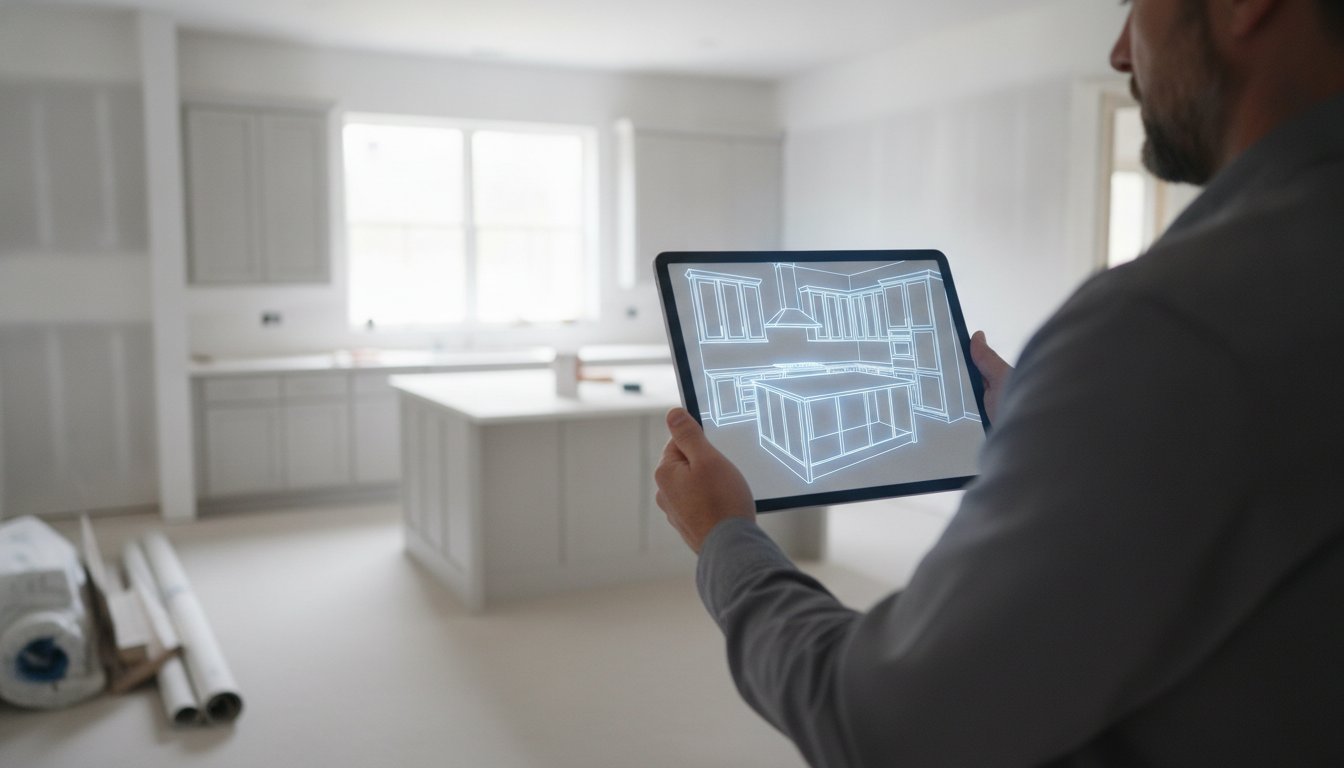
The "Scan. Design. Show." workflow changes the game. You no longer need to spend 30 minutes wrestling with a tape measure and a notepad for a standard 150 sq. ft. kitchen. A LiDAR scan takes 30 seconds. You capture the entire room footprint, including ceiling height variances and utility locations, before your client finishes pouring you a cup of coffee. This speed allows you to move directly into visualization. By generating a 3D floor plan on-site, you eliminate the "going back home" drafting phase that creates a bottleneck in your sales process. You show the client the layout, get their buy-in, and move to the next lead.
Manual Tape vs. LiDAR Room Scanner
Manual measurements are prone to error rates that climb as the day goes on. A tape measure session for a 150 sq. ft. space typically eats 30 to 45 minutes of your time. LiDAR reduces that to under a minute. More importantly, laser-precision point clouds don't forget to measure the window trim or the radiator depth. You don't need a laptop or a CAD degree to make this work. Modern mobile tools put this high-performance tech right in your pocket. You get the accuracy of a $16,995 Stonex scanner using the device you already own.
Generating 3D Models Directly On-Site
LiDAR creates a digital twin of the kitchen for immediate cabinet placement. This isn't a rough sketch; it's a precise 3D environment. Using the best kitchen design app for contractors, you can drop in U.S. standard cabinets and see exactly how they fit. If you're planning for 2026 trends like 108-inch tall pantry cabinets or 21-inch slim-depth base cabinets, you'll know instantly if they clear the soffits or crown molding. This workflow reduces material waste by generating accurate cabinet lists based on real-world dimensions rather than "guesstimates." You order with confidence, knowing the digital twin matches the physical reality of the room.
A Pro’s Checklist for On-Site Measurement Verification
Precision in the field requires a repeatable process. You can't just wing it and hope the cabinets fit during the install. A professional verification workflow is the final gatekeeper for your profit margins. Here is how to reduce kitchen measurement errors using a systematic on-site checklist that ensures your digital layouts match the physical reality of the room.
First, establish a "zero point" or datum. This is your anchor for every dimension in the room. Usually, it's a finished corner or a prominent architectural feature. Once your anchor is set, verify wall squareness. Use the classic 3-4-5 rule or a digital angle finder to confirm if your corners are actually 90 degrees. If they aren't, you need to account for that "out-of-square" reality in your cabinet list immediately. A wall that's off by even one degree can create a massive gap at the end of a long cabinet run.
Next, check your utility rough-ins. Map out gas lines and plumbing stub-outs. Compare these locations against your new layout. If a 24-inch dishwasher cabinet is landing right on top of a drain line that hasn't been moved, you need to know now. Finally, perform a "sanity check." Cross-reference your digital LiDAR scan with a few key manual measurements. If the laser says 144 inches and your tape says 144 inches, you're golden. This dual-verification method is the gold standard for high-performance contractors.
This level of verification is a standard practice for industry leaders like Countertops and Cabinetry By Design, who utilize precision measurements to ensure their custom cabinetry and countertops fit perfectly in both kitchen and bathroom projects.
Verifying Utility Clearances
Check gas line and plumbing positions relative to U.S. standard cabinet sizes. A gas shut-off valve behind a range can prevent it from sitting flush with the counter. Ensure electrical outlets meet local codes for backsplash height and distance from the sink. This is a "no laptop required" workflow. You verify appliance fitment in real-time using your mobile device. If the refrigerator cabinet width is 36 inches, ensure the physical opening and ventilation clearance are actually there. Scan. Design. Show. It's that simple.
Managing Client Expectations On-Site
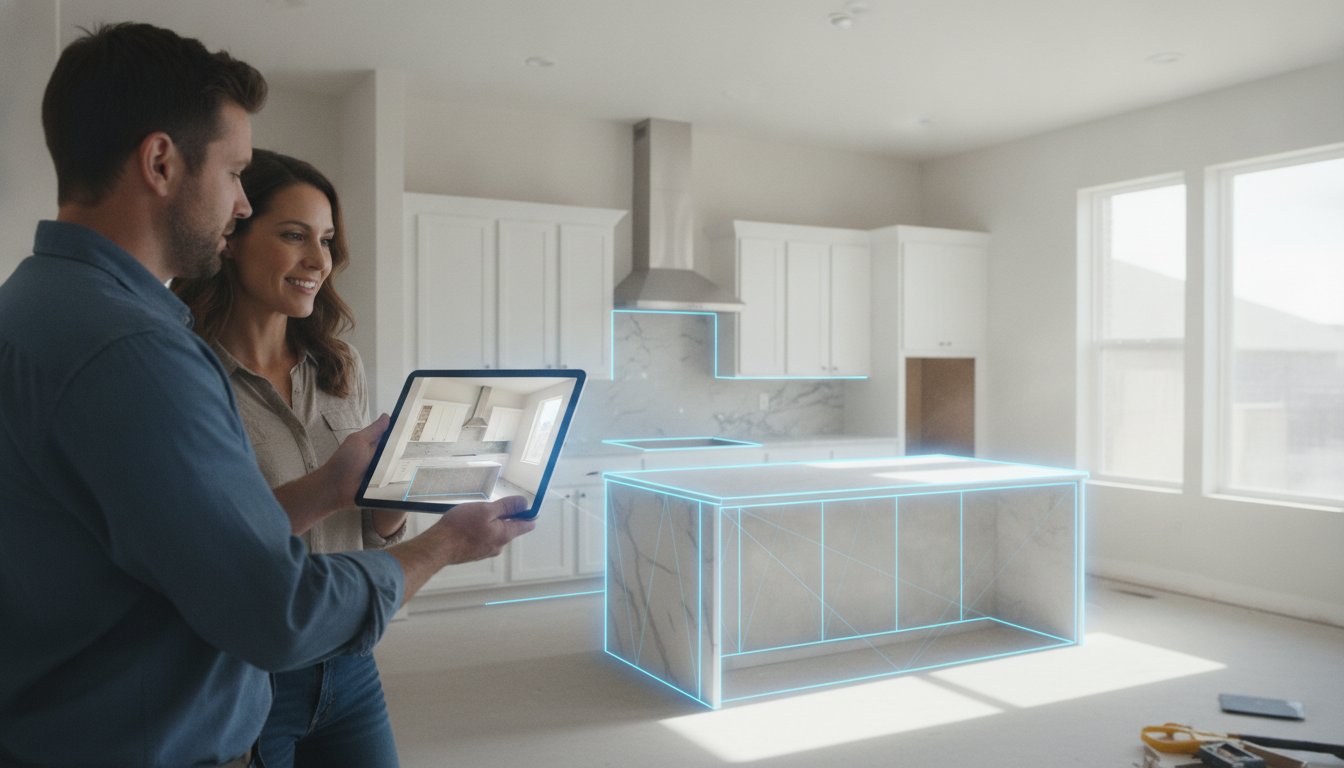
Use AR visualization to show the client exactly why a specific cabinet won't fit. If an existing HVAC vent blocks a preferred pantry location, show them the conflict in 3D. This reduces revisions by letting the client "walk through" the design during the first meeting. Instant visualization prevents "I didn't realize it would look like that" complaints because they've already seen the digital twin in their physical space. Get an instant sign-off on the layout before you even leave the job site. To start building your own professional verification workflow, get early access to ArchKit now.
Scan to Design: How ArchKit Eliminates the Margin for Error
ArchKit is the tool built for the physical reality of your work. It isn't just a scanner; it's a complete on-site workflow solution. By utilizing LiDAR scanning technology, you generate precise 2D and 3D layouts in seconds. This is the most direct answer to how to reduce kitchen measurement errors. You move from a raw room scan to a fully furnished design without ever leaving the job site. This speed allows you to verify every dimension against a real-world cabinet list before you place the order.
The app features a comprehensive catalog of U.S. standard cabinet sizes. Whether you are placing the new 2026 slim-depth 21-inch base cabinets or trending 108-inch tall pantry units, the software ensures your design matches actual inventory. You don't have to guess if a cabinet list is accurate. The digital twin does the math for you. This precision allows you to win more bids by providing professional presentations and accurate estimates before you even get back to your truck. You stop being a "guy with a tape measure" and start being a professional with a plan.
Efficiency on the Job Site
ArchKit is a no-nonsense tool designed for a dusty job site. It understands you don't have time to fumble with a mouse and keyboard. No laptop required. Everything happens on your mobile device, from the initial scan to the final client sign-off. Cloud-based project storage reduces project management fatigue by keeping all your layouts in one secure place. You can share your 3D models with your crew or cabinet supplier instantly, ensuring everyone is working from the same data. Check out ArchKit Pricing to find a professional SaaS plan that fits your business scale.
The Future of Remodeling
Digital tools are the great equalizer in 2026. They help small practitioners and solo contractors compete with large design-build firms by delivering the same level of visualization and accuracy. Being the "Tech-Savvy Foreman" in your local market gives you a massive competitive edge. Clients want to see their $50,000 investment before they sign the contract. When you show them an AR walkthrough of their new space, you aren't just selling a kitchen; you're selling confidence. Join the pros using AR to win more clients and eliminate ordering errors for good. Scan. Design. Show.
Modernize Your Job Site Workflow Today
Stop letting a 1/4-inch mistake eat your profit. Mastering how to reduce kitchen measurement errors is about replacing manual fatigue with digital precision. You've seen how the ripple effect of a single bad dimension can stall an entire crew. By moving to a LiDAR-driven workflow, you capture every architectural detail and utility location in seconds. This isn't just about saving time. It's about building a reputation as the most reliable professional in your market.
The tools you use define your speed on the job site. ArchKit provides millimetric precision using LiDAR technology. It includes a full U.S. Standard Cabinet Catalog for instant layout planning. Design entirely on-site. No laptop required. You walk in as a contractor and leave with a professional presentation. It’s time to modernize your trade and protect your margins. Scan. Design. Show.
Win more bids and eliminate ordering errors with ArchKit—Get Early Access today!
Your next project deserves the confidence of a perfect fit. Go win that next bid.
Frequently Asked Questions
What are the most common kitchen measurement errors for contractors?
The most common errors involve ignoring appliance clearances, utility shut-off locations, and window casing widths. Contractors often measure wall to wall but forget the radiator depth or the gas valve that prevents a range from sitting flush. These physical obstructions are the primary cause of ordering errors. Learning how to reduce kitchen measurement errors starts with documenting every permanent fixture, not just the drywall.
Is a LiDAR room scanner more accurate than a digital tape measure?
A LiDAR room scanner is significantly more reliable because it captures a million-point cloud of the entire environment. A digital tape measure only captures the distance between two specific points. LiDAR identifies out-of-plumb walls and uneven floor heights that a single laser point might miss. It provides a complete digital twin of the space, ensuring your cabinet list matches the actual site conditions perfectly.
How do I account for out-of-plumb walls in a kitchen layout?
Account for out-of-plumb walls by taking measurements at three different heights: floor level, mid-wall, and ceiling. Use the smallest dimension for your cabinet ordering to ensure the run actually fits the space. Digital tools like ArchKit automatically capture these variances during a 30-second scan. This eliminates the need for heavy shimming or unexpected field modifications during the final installation.
What is the best way to document kitchen measurements for cabinet orders?
The best way to document measurements is through a digital layout generated directly on-site. Hand-sketched notes are prone to transcription errors and "going back home" fatigue. Using a contractor-focused app allows you to link specific dimensions to a U.S. standard cabinet catalog instantly. This creates a verified cabinet list that you can share with suppliers, reducing the risk of miscommunication or lost paperwork.
Can I use an iPad Pro for professional kitchen measurements?
You can absolutely use an iPad Pro for professional measurements because it features a built-in LiDAR sensor. When paired with software like ArchKit, the iPad becomes a high-performance scanner and design station. It allows you to scan the room, place cabinets, and show the client a 3D model in one visit. It’s a "no laptop required" solution that fits the fast-paced reality of a dusty job site.
How does AR visualization help reduce project revisions?
AR visualization reduces revisions by letting clients "walk through" the design in their actual kitchen. It identifies physical conflicts, such as a pantry door hitting a light fixture, before you place an order. Showing the 3D model on-site prevents the "I didn't realize it would look like that" complaint. Clients sign off with confidence because they've seen the digital twin in their own home.
What measurements do I need before ordering kitchen cabinets?
You need total wall lengths, floor-to-ceiling heights, and the exact position of all windows and doors including their casings. Don't forget utility rough-in locations for gas, plumbing, and electrical. Knowing how to reduce kitchen measurement errors requires verifying these dimensions against U.S. standard cabinet depths. Always check for floor levelness and wall squareness to ensure your base and wall cabinets align correctly during install.
How much time can I save using a kitchen design app on-site?
You can save up to 90% of your survey time by using a kitchen design app on-site. A manual tape measure session for a mid-range kitchen typically takes 30 to 45 minutes. A LiDAR scan takes about 30 seconds. This efficiency removes the office-based drafting bottleneck. You move from measurement to presentation in minutes, allowing you to win more bids and close deals faster.